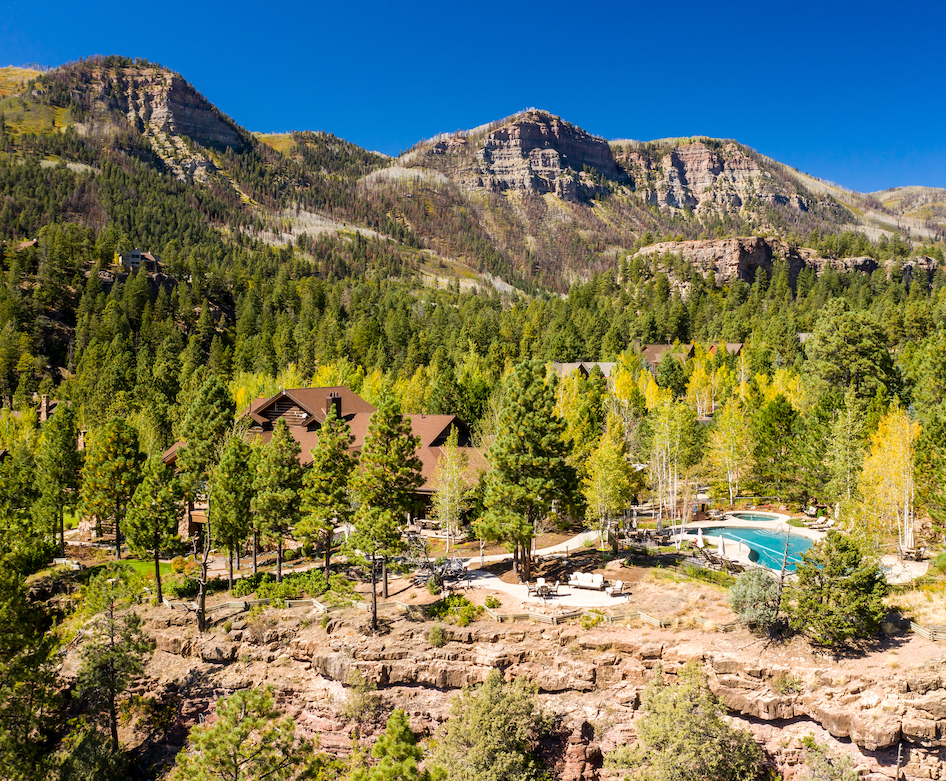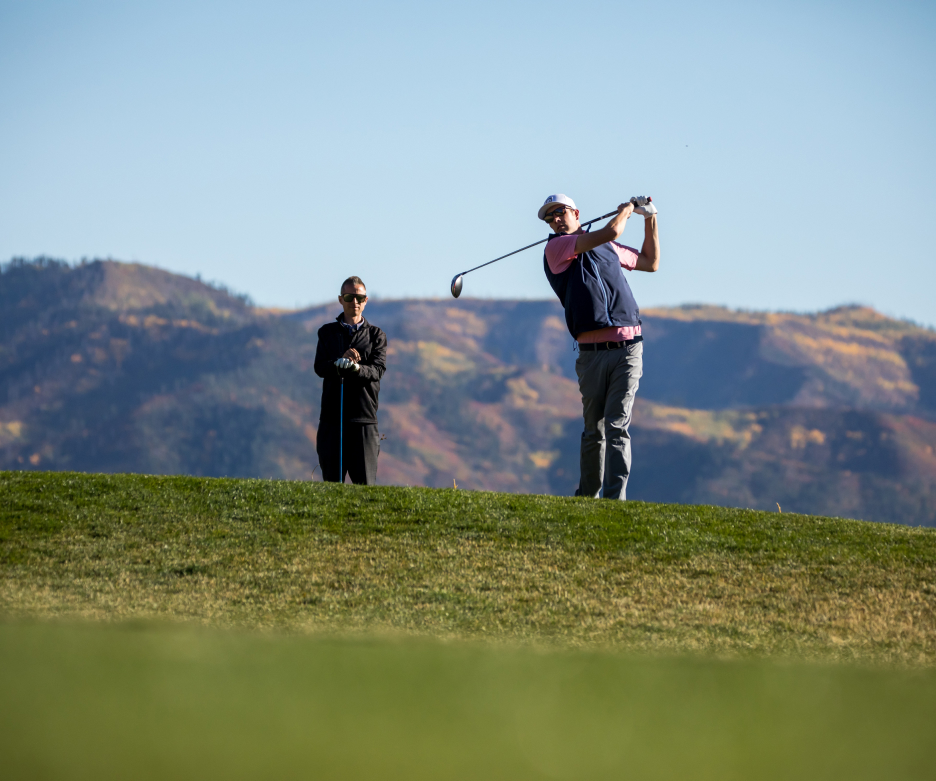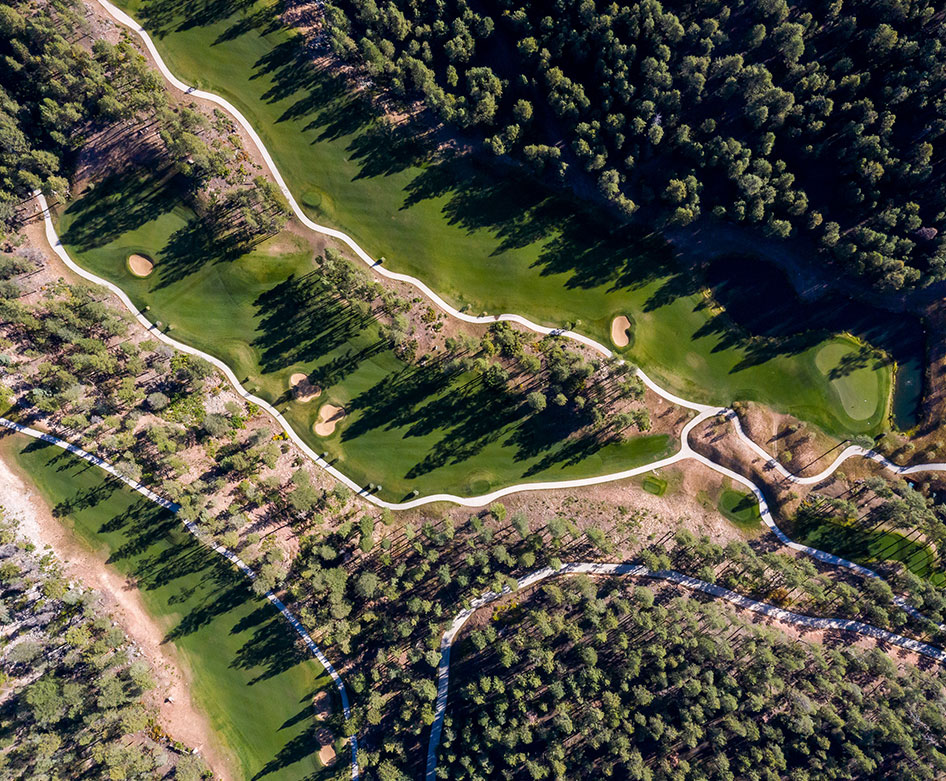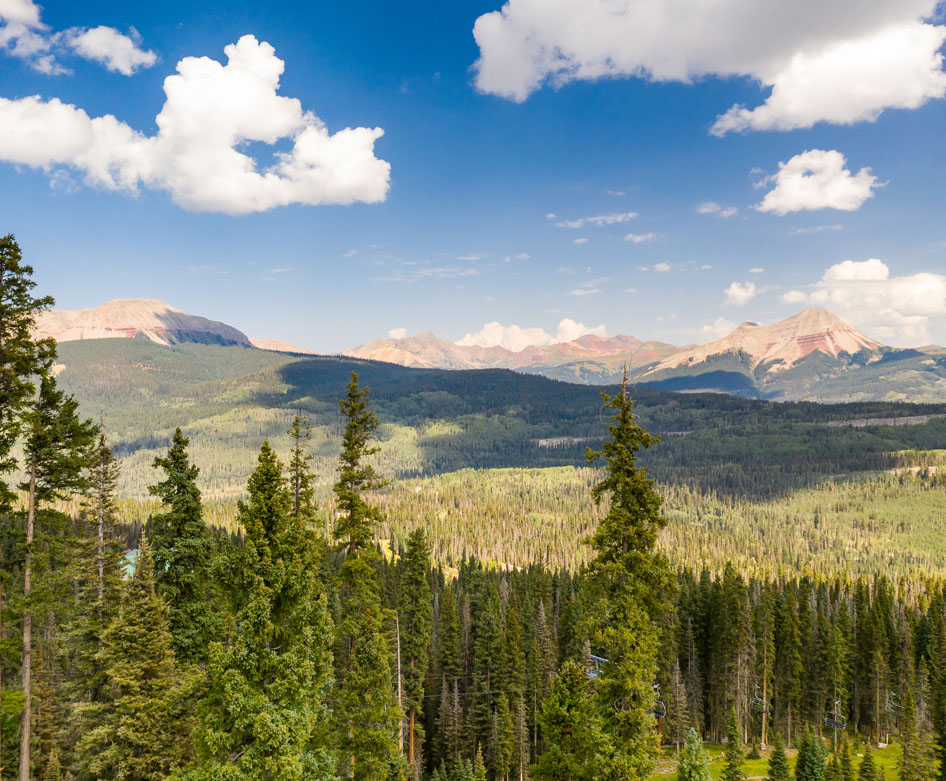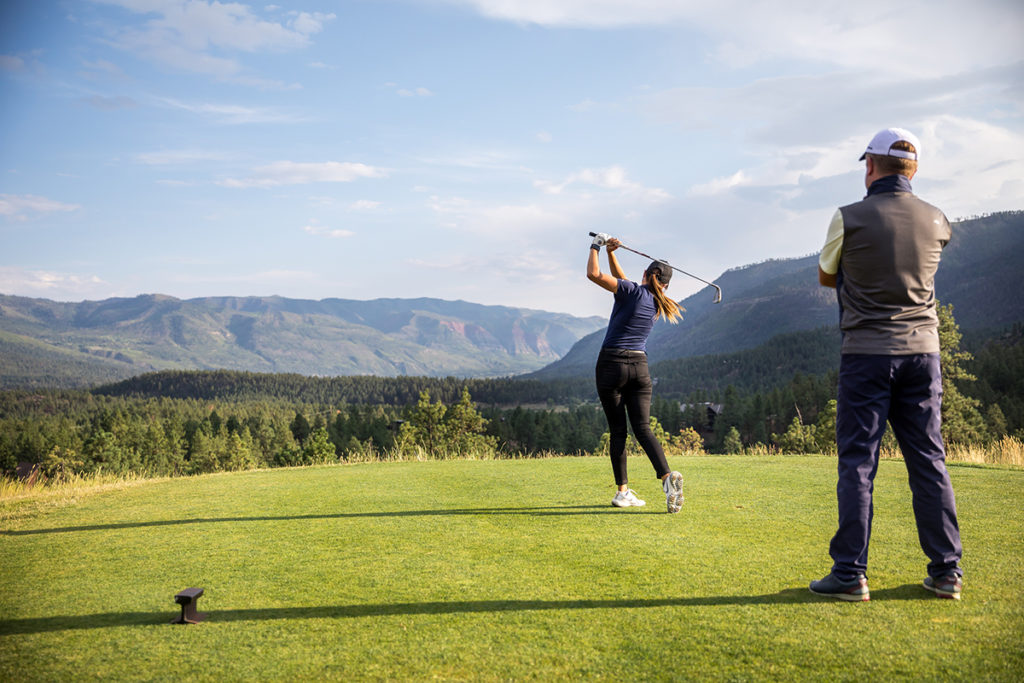
Designed by renowned architect Todd Schoder and three-time U.S Open Champion Hale Irwin, Glacier’s picturesque Mountain Course is majestically situated in the heart of the San Juan Mountains, offering a truly spectacular backdrop that rivals the game itself. The strategy for this course is decidedly classic with hazards thoughtfully placed to provide interest and beauty while defining alternative playing routes for each hole. That’s why we compiled an array of tips and tricks for playing each hole, plus interesting facts to spark both inspiration and conversation on the greens — all below.
Hole 1: Fairway to Heaven
Number one is a medium length par four measuring 422 yards running parallel to a beautiful wetland running down the entire right-hand side of the hole. For your best chance of birdie, bite-off as much as you dare with your tee-shot on this “cape” style fairway.
Interesting Fact: The “clubhouse-tee” is 177 feet higher than the #1 green. Due to the average elevation of 7,600 feet above sea level on the Mountain Course, the golf ball will travel approximately 8% to 15% longer.
Hole 2: Narrow Gauge
Number two is a medium-length, uphill par four that will play longer than its measured 429 yards. For a good chance at par, be sure to club appropriately from the tee to avoid the flanking fairway bunkers.
Interesting Fact: Next to the #2 tee is Rockwood Station, a stop for the Durango and Silverton Narrow Gauge Railroad, a 3-foot narrow gauge heritage railroad that operates 45.2 miles of track between Durango and Silverton.
Hole 3: Gold Mine
Number three is a short, risk/reward par five measuring 538 yards to an elevated green. A well-struck tee shot is a must if you are to have any chance of reaching this green in two.
Interesting Fact: The architects wanted to create a memorable green, in golf design vernacular, by “burying an elephant” in the middle. As luck would have it, an existing large granite seam bisecting the green formed the shape you see today.
Hole 4: Glacier Pond
Number four is a medium length par three of 194 yards that plays over a pristine mountain lake. The hole is void of any bunkers but offers hazards in a different variety. The green is surrounded by towering Ponderosa Pine and is nestled amongst interesting landforms that create demanding pin placements.
Interesting Fact: The pond is an actual glacier pot hole that was discovered by the architect on a site visit, which was incorporated into the course routing and converted to a pristine glacier pond.
Hole 5: Mark’s Meadow
Number five is the epitome of a risk/reward strategic golf hole. The hole plays downhill nearly 50 feet and measures only 321 yards from the member tee. A well-struck tee-shot may find this green and offer a putt for eagle.
Interesting Fact: A coin toss decided the fate of the center fairway bunker on #5. Should it remain or be removed, the architect won and it stayed.
Hole 6: Stagecoach
Number six is a medium length par four of 401 yards that provides one of the more interesting tee-shots on the entire golf course. The back tee is perched high atop a knoll, some 40 feet above the fairway. From this vantage point you can feel the full effect of the swirling winds that have a tremendous impact on club selection.
Interesting Fact: On #6 lies remnants of the historic Animas Cañòn Toll Road (1875), a vital trail between Animas City and Silverton that freighters, stagecoach drivers, and miners used to extract and transport the riches of silver and gold from the San Juan Mountains.
Hole 7: Hangman
Number seven is a short, dog-leg right par five that can be reached in two, provided you play your tee-shot to the far left side of the fairway. Wise players will take direct aim at the fairway bunker, which is 315 yards out. From here, you have a clear view of the diabolical three-tier green.
Interesting Fact: Bonanza! Actual gold nuggets were unearthed on #7 during construction of the golf course.
Hole 8: Ambush
Number eight measures as the longest par three on the course at 243 yards. There are no bunkers on this hole but two distinct hazards make par a challenge. First, there is a large flat bottom swale bisecting the large green. Second, a native wetland borders the left side of the green protecting left pin placements. Aim for the center of the green and let your putter do the work.
Interesting Fact: On a clear day, from #8 tees you have a stunning view of Engineer Mountain 13.5 miles to the north.
Hole 9: Grandma’s Curve
Number nine kicks-off the beginning of “Horseshoe Corner” (holes 9 through 12) and arguably is the most visually intimidating and difficult hole on the course! Member knowledge is a bonus here. The ideal tee-shot for this dog-leg left par four is played over the right rock outcropping, not through the “chute” to a concealed 40-yard wide landing area.
Interesting Fact: Because of #9’s proximity to Chris Park, the green location was moved four times to receive ACOE approval for construction. Also, it’s quite common to see black bears and one resident mountain lion crossing this fairway.
Hole 10: Horseshoe
Inspired by the 5th hole at Lahinch Golf Club in Ireland, the medium length par three 10th plays to a partially blind “redan”green nestled between a 30’ granite ledge and 100 foot drop-off. Unlike Lahinch, the flagstick is visible from the tees and there is ample room and width to play a bump-n-run shot to the green.
Interesting Fact: Over 15,000 cubic yards of granite was blasted and removed to build #10, and over 120,00 cubic yards were blasted for the entire 18 holes.
Hole 11: 7950
The medium length par four eleventh plays gently from right-to-left over the original Rico-to-Rockwood Wagon Road. The ideal tee-shot is 250 yards plus, directly over the fairway bunker to a 50 yard wide fairway, one of the widest fairways on the entire course.
Interesting Fact: The #11 back tee is the highest point on the golf course at 7,950 feet above sea level and there is 581 feet of elevation change across the 18-hole golf course.
Hole 12: Dolly
Wrapping up “Horseshoe Corner” is the devilishly short par four twelfth, the epitome of risk/reward play. Number 12 offers numerous options from the tee. Depending on wind direction, the green may be reachable for the big hitter.
Interesting Fact: #12 is golf architect Todd Schoeder’s favorite hole. Golf designer Hale Irwin’s favorite is hole #15. Let the debate continue…
Hole 13: Lucky
The medium length par four thirteenth works gently from left-to-right playing nearly 100 feet downhill and consequently plays much shorter than the measured 384 yards. However, distance is critical off the tee to leave as short an iron as possible for your approach shot to hold a green that falls from front to back with a severe 12 foot deep roll-off waiting to capture anything played long.
Interesting Fact: #13 was named by Schoeder’s 15-year-old daughter, Madison. According to her, “anyone who plays the Glacier Club sure is lucky!”
Hole 14: Wesley’s Climb
The medium length par-4 fourteenth is a gentle dog-leg right that by playing nearly 40 feet uphill increases the effective playing yardage to a demanding 431 yards. The ideal tee-shot is played down the right side of the fairway away from the bunkers, which provides the best angle to attack the green.
Interesting Fact: #14 has the largest green on the course at 7,215 square feet. It measures 144’ long with over 6’ of elevation change from front-to-back. At 7,215 square feet, the green is over 1.5 times the size of an NBA basketball court.
Hole 15: Gambler
The long par four fifteenth plays much shorter than the measured 473 yards due to a drop of over 100 feet from tee to green. The effective playing distance is 381 yards. However, the large pond protecting the left and back of the green demands as much distance as possible off the tee to leave a mid- to short-iron approach to the well protected putting surface.
Interesting Fact: The original back tee was 50 yards longer and 70’ higher but was abandoned during construction. This picturesque and sublime hole is the favorite of designer Hale Irwin. Awe-inspiring to say the least!
Hole 16: Glacier Cliffs
This picturesque hole plays downhill 60 feet from tee to green to a small, undulating green. The looming Hermosa Cliffs in the background make the hole appear much shorter than it will actually play.
Interesting Fact: Hermosa Cliff in the background is 1.35 miles away from #16 tees. The cliff reaches 10,279 feet and is best hiked via the Goulding Creek Trail. From the peak you are rewarded with a stunning view of all 36 holes.
Hole 17: Sam’s Gulch
Number seventeen is a grueling, long, downhill par four of 474 yards that rewards local knowledge and experience. The most obvious choice from the tee is to play to the heart of the fairway that is clearly presented in front of you but the better play from the tee is to play your drive over a knoll that cuts in from the right to a blind landing area.
Interesting Fact: The #17 green, along with every other green on the course, was individually crafted and shaped on-site by the architect.
Hole 18: Showdown
Number eighteen measures more than 600 yards from the back tee but will play much shorter due to its drop of almost 100 feet in elevation from tee to green. The best angle off the tee is down the right-hand side of the fairway, where a “speed-slot” will collect drives and propel them down the fairway.
Interesting Fact: Even at 611 yards long, the architects meant for #18 is meant to be reachable in two, a risk/reward hole, thus named Showdown.
